Solar Systems for Van or Rv Dwelling
Update: I have created a new website specifically dedicated to mobile solar systems:
Check it out by clicking here
Amazon and ebay are filled with crappy solar products that will break in a few months, or are massively inefficient. The products below will please you like no other. When it comes to solar, you need to do it right the first time! The products below are the best of the best, and it took years of me "learning the hard way" to learn that. I hope I can save you all time and money with these recommendations!
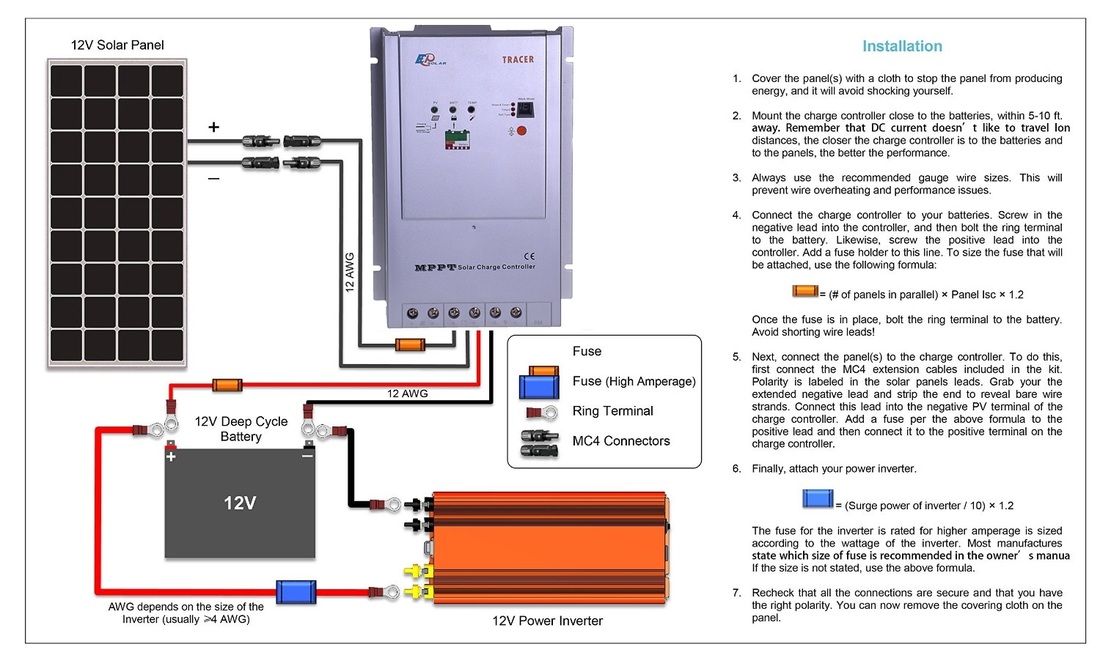
RV Solar Systems are very easy to install! Almost anyone can do it. The diagram below shows the main components:
RV Solar Systems are very easy to install! Almost anyone can do it. The diagram below shows the main components:
But the hard part is knowing what components to choose, and how much power you need. Follow my recommendations below:
Step 1: Fill the roof of your RV or Van with
as many solar panels as possible
(I Make A Commission For Purchases Made Through The Links Below)
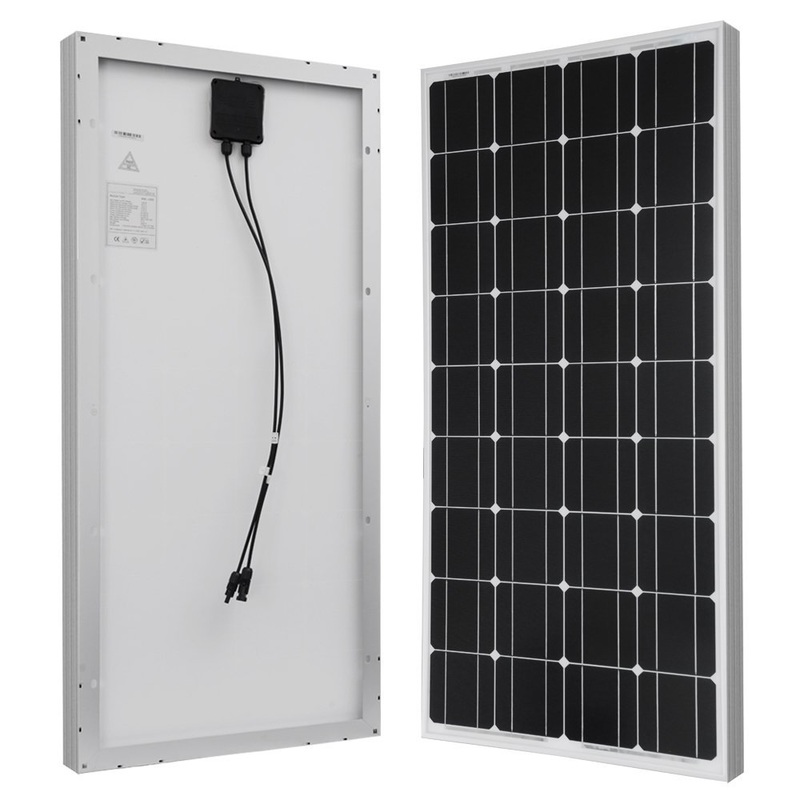
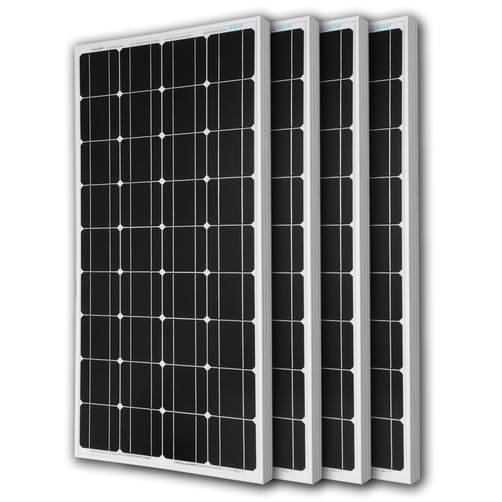
Most common and highest rated panel is the renogy 100 watt Panel:
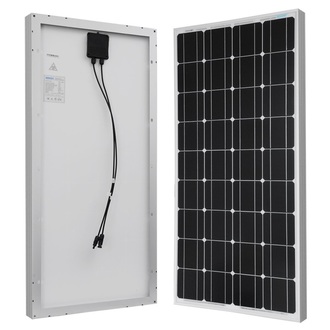
Super strong panel that is safe to mount on the roof of a moving vehicle. I do not recommend larger panels! They are weaker. If you use glass panels, 100 watts should be the largest size you use.
Specifications:
Dimensions: 41.7 X 21.3 X 0.12 inches
Weight: 16.5 pounds
Renogy 100 watt Solar Panel (5-6 amps max for each panel) Click Here
Specifications:
Dimensions: 41.7 X 21.3 X 0.12 inches
Weight: 16.5 pounds
Renogy 100 watt Solar Panel (5-6 amps max for each panel) Click Here
In recent times I have learned that a good number of other glass solar panels have hit the market with the same quality and durability ratings as the renogy panel above. Keep in mind that Renogy solar panels are made in the united states, which increases their cost. If you are on a budget, you may want to check out these panels instead:
Flexible Solar Panels
Lighter, usually more efficient, easier and safer to mount on a vehicle and more aerodynamic than glass solar panels. Flexible solar panels cost only slightly more than solid glass solar panels.
The downside is that they do not last as long, are not as efficient, and can overheat easily.
The downside is that they do not last as long, are not as efficient, and can overheat easily.
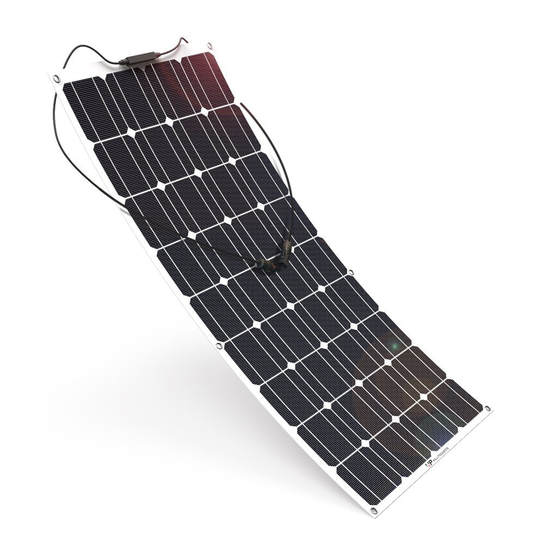
100 Watt Flexible Solar Panel- Allpowers mono panel. Many flexible panels are having overheating/durability issues. This panel is the best one available right now.
4.1 pounds
41.8 x 21.7 x 1.3 inches
Click Here
4.1 pounds
41.8 x 21.7 x 1.3 inches
Click Here
Step 2: Choose a Solar Charge Controller based on how many solar panels you have
I will say this once: Do not buy the cheaper "PWM charge controller". They are 70% efficient, and MPPT (the ones below) are 98% efficient. That is huge when it comes to solar. If you are losing 30% of your power to the controller, then 30% of your panels are just sitting there doing nothing. Buy a MPPT charge controller! They are better in so many more ways, and last a lifetime.
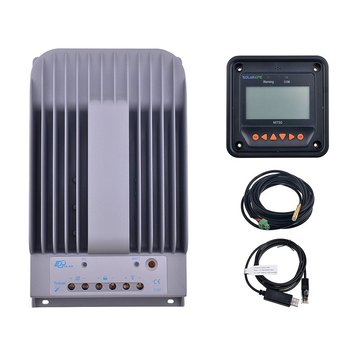
Below are my favorite MPPT charge controllers:
Below are my favorite MPPT charge controllers:
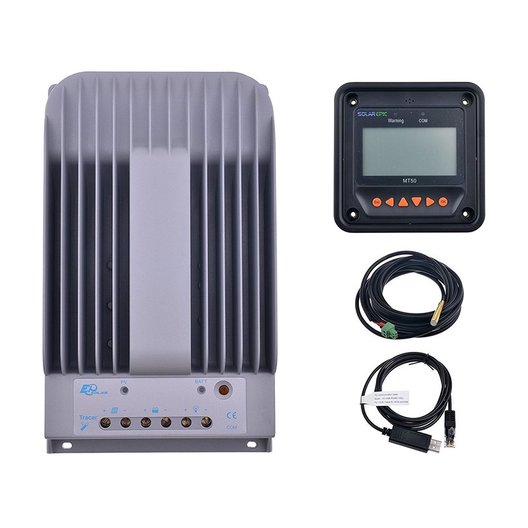
Max. Solar Input Power:
520W (12V panels)
1040W (24V panels, or 12V panels in series)
This charger has over-current protection which means that the figures above can be doubled!
40 Amp MPPT Charge Controller kit: Click Here for a cheap price
If the link above is out of stock, you can buy the same controller here:
Alternative Option 1 Click Here
Alternative Option 2 Click Here
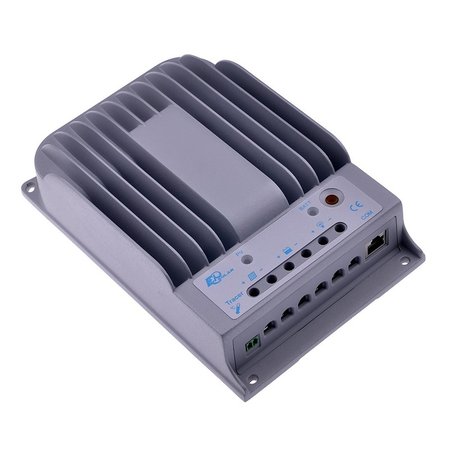
Max. Solar Input Power:
260W (12V panels)
520W (24V panels, or 12V panels in series)
This charger has over-current protection which means that the figures above can be doubled!
20 Amp MPPT Charge Controller: Click Here
260W (12V panels)
520W (24V panels, or 12V panels in series)
This charger has over-current protection which means that the figures above can be doubled!
20 Amp MPPT Charge Controller: Click Here
Step 3: Choose a Solar Specific Battery
Most solar systems should be built around how much power you need...
but in a rv, you have a finite space for solar panels, so you usually want to build around that instead.
So fill your roof with solar panels and then build up your battery bank. A good estimate is:
For every 100 Watts of Solar Panels, have at least 75 Ah of AGM sealed lead acid battery capacity
(or any size lithium battery)
If your solar system produces too much power, you may accidentally charge your batteries too quickly, which can cause damage to the batteries. The suggestion above is just a recommendation. You need to research what the safe charge current of your battery is, and match it with your solar panels.
Typical solar system battery banks are either:
- AGM Sealed Deep Cycle Lead Acid
- Lithium Iron Phosphate
- Cycle life is much higher in lithium batteries. A lithium battery on average will last 6-10 times as long as a lead acid battery.
- Depth of discharge is much lower in lead acid batteries. A lead acid battery can only discharge safely to 70-80%. A lithium battery can discharge safely down to 0-20%. This means that a 100 amp hour sealed lead acid has the same capacity as a 20-30 amp hour lithium battery!!
- Charging efficiency of a sealed lead acid is around 85-90%. Lithium batteries are 99% efficient. This means you can save more money because you will not need as large of a solar system.
- Risks of damaging a lead acid battery are much higher. If you over discharge a lead acid battery, even once, you will permanently damage it. This damage can cause more frequent replacement, which means more money wasted.
- Decreased Weight (usually 200% lighter)
- Decreased Size (usually around 70% smaller)
- Higher discharge and charging rates, and lower resistance. This means that all appliances will run with higher performance
- Virtually maintence free
- Better for the environment
- Does not give off dangerous fumes, which means they are safer to be around
Step 4: Choose a battery
AGM Sealed Deep Cycle Lead Acid
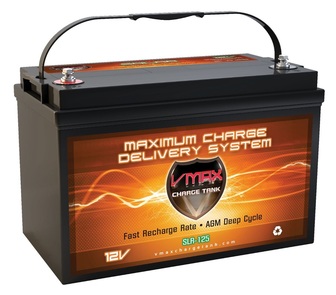
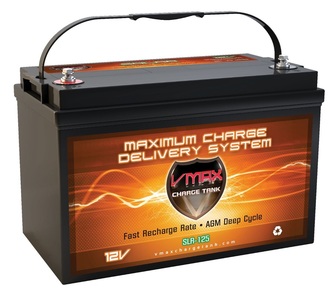
This is a true deep cycle battery that has a large depth of discharge (how much you can discharge before you cause permanent damage to the battery). It is also sealed, so it can be mounted sideways without issue. It does not require ventilation like other batteries.
Keep in mind that these batteries are heavy! Buy them online and have them shipped to your door for free with amazon. It is much easier than buying them from the store (and most stores do not carry true deep cycles! This includes marine batteries! Those are absolutely horrible. Buy a solar specific battery unless you will be suffering)
125 Amp Hours (100-200 watts of solar panels required to ensure a safe charge current)12 volt: Click Here
155 Amp Hours (200-250 watts of solar panels required to ensure a safe charge current) 12 volt: Click Here
Note: If you double up the batteries above, by connecting them with cables, you can increase the amount of solar panels that the batteries can handle.
Example:
If you combine 2x 125 amp hour batteries above, you can use 200-400 watts of solar panels
If you combine 2x 155 amp hour batteries above, you can use 400-500 watts of solar panels
Example:
If you combine 2x 125 amp hour batteries above, you can use 200-400 watts of solar panels
If you combine 2x 155 amp hour batteries above, you can use 400-500 watts of solar panels
Lithium Batteries
When it comes to lithium batteries, you will be using a lithium iron phosphate battery. This is the standard when it comes to deep cycle lithium applications. The most important factor to consider when buying a lithium battery, is the product reviews. Most lithium batteries are the same, but what differs is the BMS (battery management system). This is a small circuit board that is on top of the battery which will regulate charging, discharging and more. If you buy a cheap lithium battery, the BMS could be faulty, and cause problems. If the battery has high reviews, and people are not experiencing problems with it, you should be good to go.
You can buy a plug and play lithium battery that works with most charge controllers. You simply wire it the same way you would wire any other battery. Or you can buy the cells, then add your own BMS. I highly recommend buying a plug and play system that high reviews, and leave it at that.
Lithium batteries can handle a larger charging current compared to lead acid batteries, so you can pretty much hook up as many solar panels as you want without a problem.
Choosing a lithium battery bank can be daunting. Some require assembly, and are not plug and plug, like lead acid batteries.
You can build your own lithium battery bank by purchasing the lithium cells, and finding a BMS, and wiring it all up. If you are new to this, this is a bad idea.
|
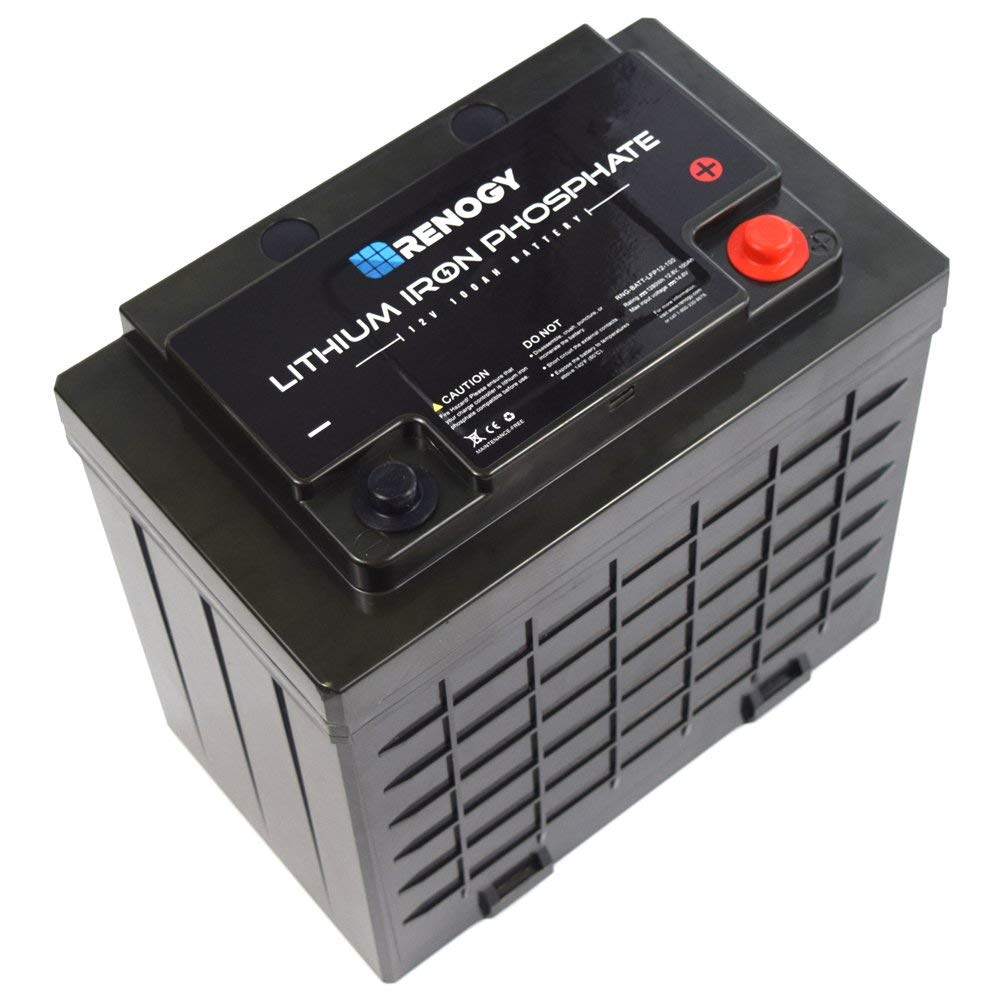
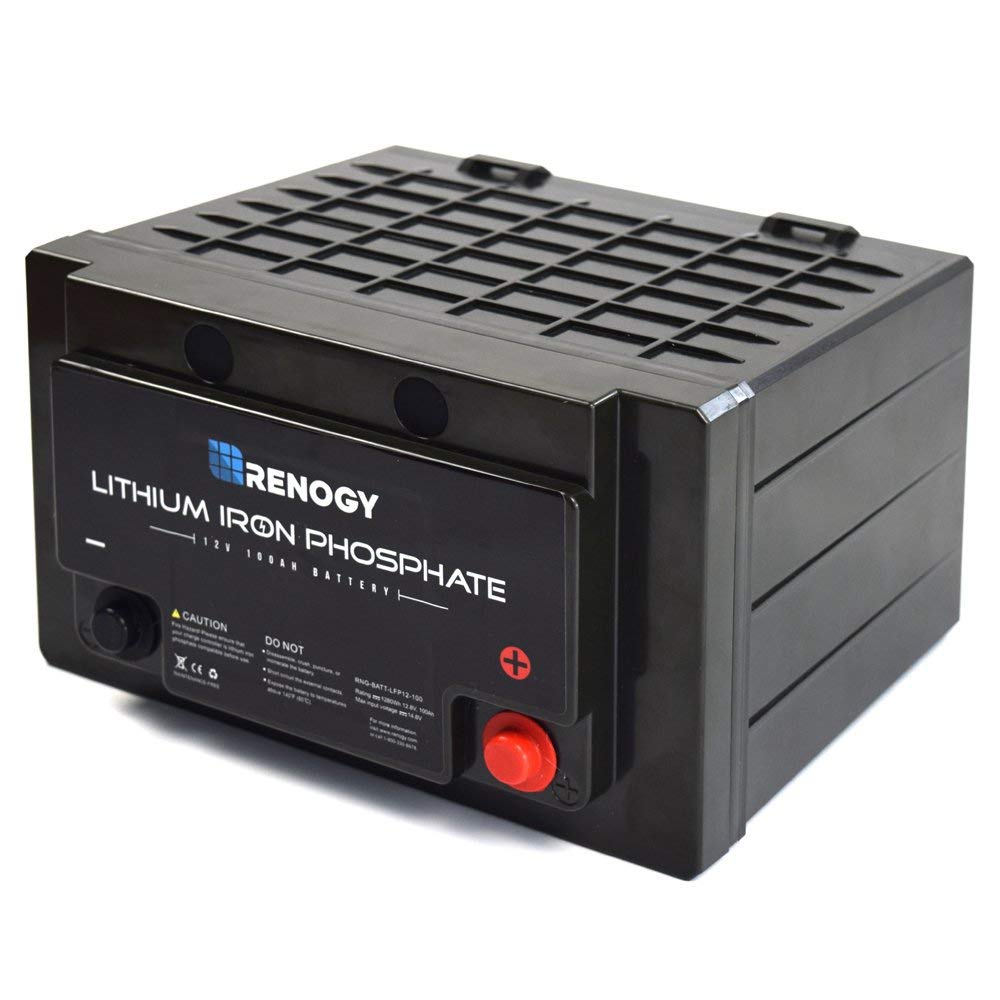
Instead of building your own battery, buy the renogy battery lithium battery! It is a direct replacement for 12 volt lead acid.
This battery will work with any 12 volt solar charge controllers/ chargers/ battery isolators/ inverters etc. It also has a lot of safety features such as over charge and discharge rate protection, voltage protection and more. Keep in mind that: 100 amp hour lithium battery has 3x times the usable storage of a 100 amp hour lead acid battery. This 100 amp hour is the equivalent of around 300 amp hours of lead acid! If you consider the cycle life of a lithium battery, they are much cheaper than a lead acid battery. And it's cheap! This battery is the same cost as building it from scratch. 100 Amp Hour Lithium Battery Bank Click Here |
Step 4: Wires and Mounting Hardware

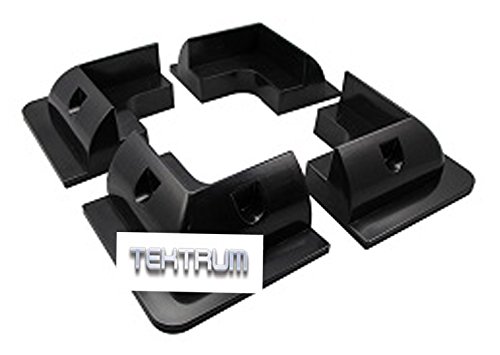
The most popular and easiest way to mount a solar panel on the roof of a vehicle is with mounting tape. This tape will hold for years, at highway speed winds, but keep this in mind: Air needs to flow under the panel. So use the drill free solar panel mounts below in combination with this tape and you will be set.
Make sure that wherever you use the mounting tape, the surfaces being connected are clean. Use rubbing alcohol to clean it even further before using the mounting tape.
VHB Mounting Tape
Click Here
Make sure that wherever you use the mounting tape, the surfaces being connected are clean. Use rubbing alcohol to clean it even further before using the mounting tape.
VHB Mounting Tape
Click Here
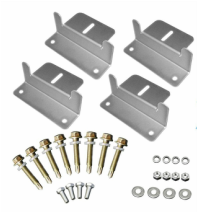
Use these mounts only if you have a roof rack or something to bolt the solar panels to! Do not use these directly on your RV/Van Roof!
Renogy Solar Panel Mounting Kit: Click Here
Renogy Solar Panel Mounting Kit: Click Here
|
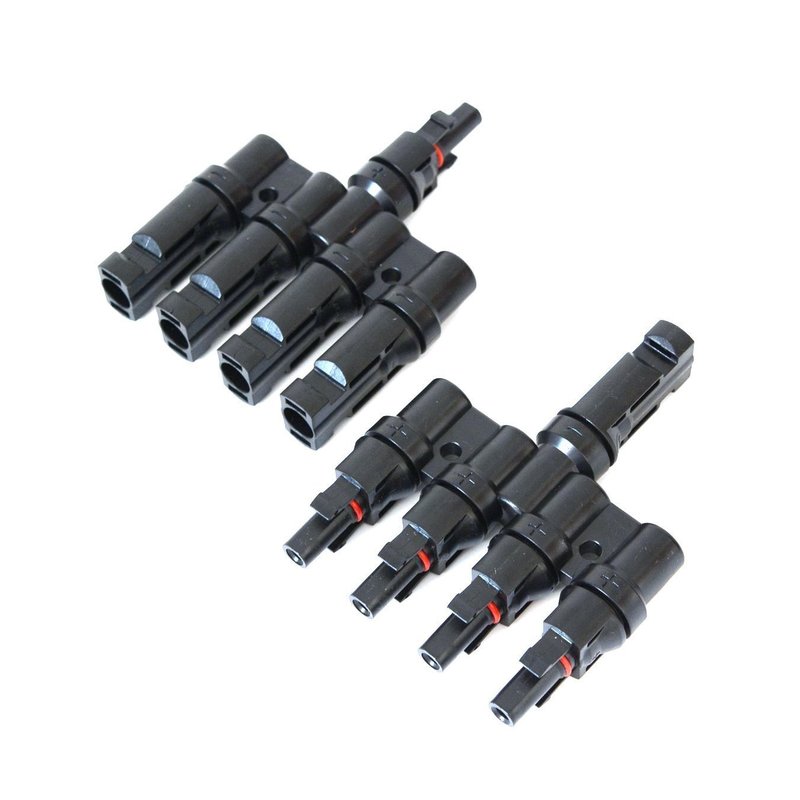
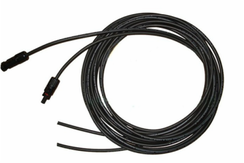
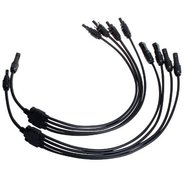
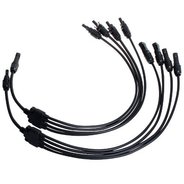
Wiring multiple panels together requires a branch connector. Connect all of your panels together on the roof and combine them into two wires which will connect to the solar panel extension cable (Solar panel to charge controller cable above)
2 panel connector Click Here 3 panel connector Click Here 4 panel connector Click Here |
|
Solar Panel Array Cable Entry Gland
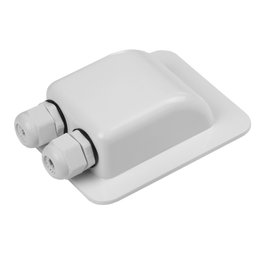
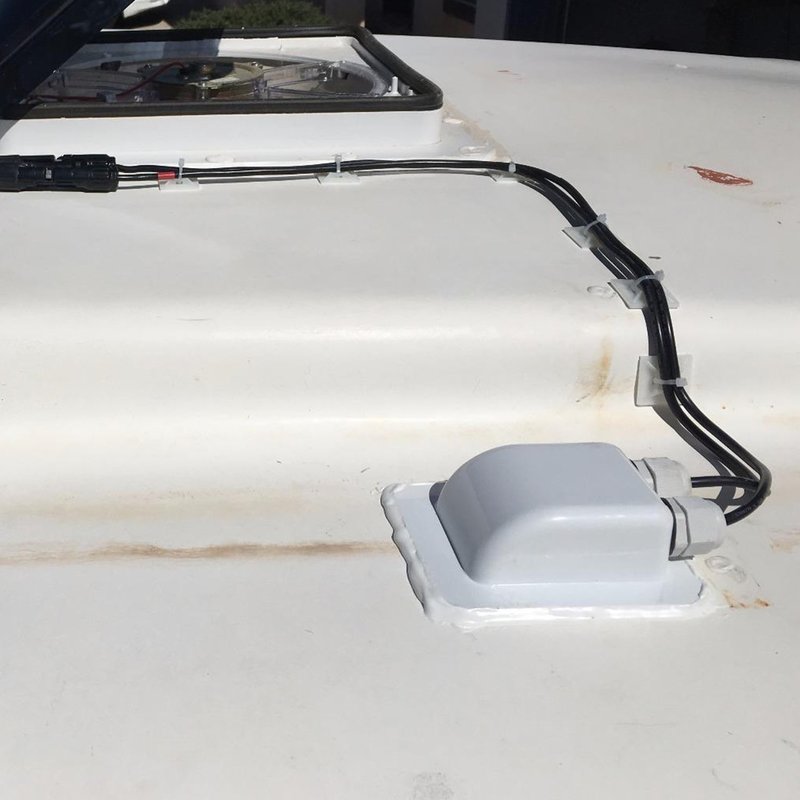
When your solar panel array wires enter your vehicle, you will need to drill two holes. Use this cover to prevent roof leaks from developing. Click Here |
Or just buy a combo package
400 watt solar system package
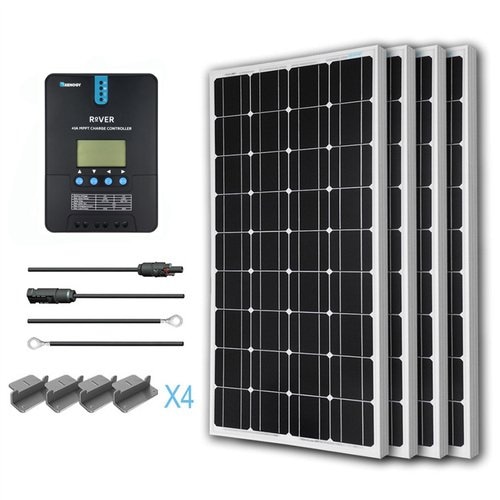
This is my favorite, and I have been using this setup for years. Why? You need at least 400 watts. It is the minimum if you want to power tv's, refrigerators, power tools etc.
This is the "go to" package for rv solar. It is easy to install and all it requires is the battery. Be sure to get a big battery though! It is important.
Click Here for a cheap price
400 watts of panels will require a 300 amp hour lead acid battery. Or you can use any lithium battery.
This is the "go to" package for rv solar. It is easy to install and all it requires is the battery. Be sure to get a big battery though! It is important.
Click Here for a cheap price
400 watts of panels will require a 300 amp hour lead acid battery. Or you can use any lithium battery.
200 watt complete package
Basic Van and RV Dwelling Starter Package:
This would give you the best bang for your buck, and it would blow away most other options on the market. It is cheap, strong as hell and very powerful!
Total estimated price for this really awesome 400 watt system
Inverters
Convert 12v DC power to 110v AC power
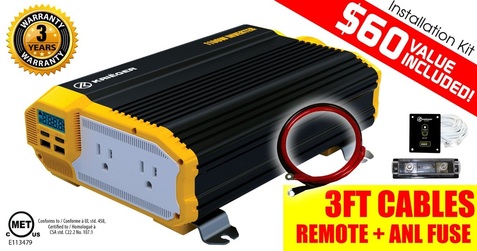
This is what I used to use. Worked well for most appliances and is super cheap. I have recently upgraded to a pure sine wave inverter below. If you only plan to power a couple small appliances, this one works great. If you plan to use it everyday for years, and to power some big stuff, check out my post below.
1100/1500/2000/3000/4000 watt inverter with remote and wires: Click Here
1100/1500/2000/3000/4000 watt inverter with remote and wires: Click Here
Pure sine wave inverter
(what you really want)
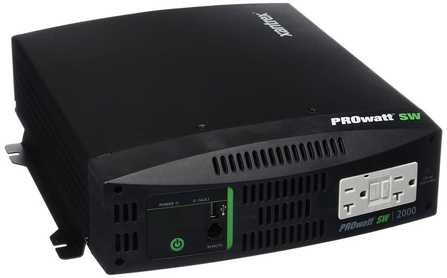
In recent times I made the switch away from modified sine wave (inverter above) to pure sine wave. It is worth every penny. It costs more at first, but you will not regret it. You have more power, more safety, and usually more efficiency. There are a lot of crappy pure sine wave inverters on the internet. The one below is what I use, and seems to be the best considering its reviews. The most important thing when hooking these up is to have LARGE wires. I am talking 0 guage wires. If not, you will have problems.
What I use: 2000 watt Xantrex pure sine wave inverter
Click Here
For the Xantrex 1000 watt version, use link below:
Click Here
These inverters also come with a warranty. If you have any problems with these inverters, they will fix them. If you check the reviews you will realize that not many people ever have problems with these. Compare that to other inverters that simply blow after a couple years, and you can't replace them or have them fixed.
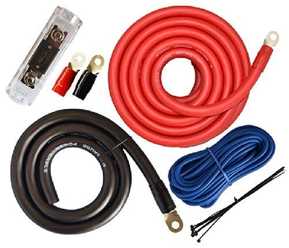
And now for my wiring recommendation. If you run the 2000 watt system, you need big wires! Huge wires. This is what I use:
|
This is a 0 Guage wire and fuse kit that can handle the massive amp draw required for 4000 watt surge inverters (common with 2000 watt inverters).
This kit is pretty cheap and works well. This is what I use: Click Here for a cheap price |
If you are running a 1000 watt inverter, keep in mind that you can run 4 guage wires instead... but the problem is that these 4 guage kits cost more than the 0 guage kits?! (4 guage is smaller than 0 guage in case you didn't know) It is so strange.
You get less wire for more money. So honestly I would just buy the kit above and call it a day. It will be future proofed and you will be able to run nearly any inverter (minus a crazy 5000 watt inverter. But who does that in a rv?)
You get less wire for more money. So honestly I would just buy the kit above and call it a day. It will be future proofed and you will be able to run nearly any inverter (minus a crazy 5000 watt inverter. But who does that in a rv?)
|
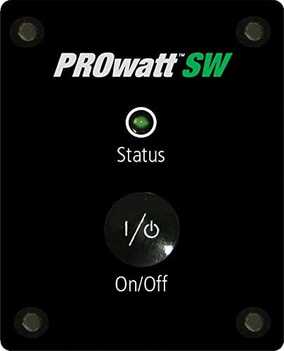
Also be sure to buy a remote switch for the inverter. I used to have a small inverter that did not have a remote switch, and its a pain! I can't imagine my life without a remote switch at this point. This kit will attach to the pure sine wave inverters I mentioned a second ago.
Click Here for a cheap price |
USB Charging Ports for Solar 12v Systems
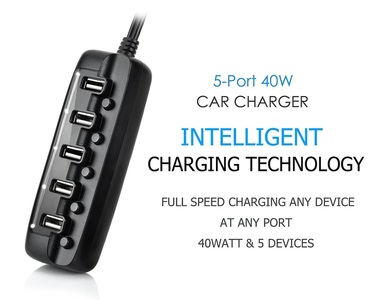
Insanely useful 12v quick connector for 12v appliances
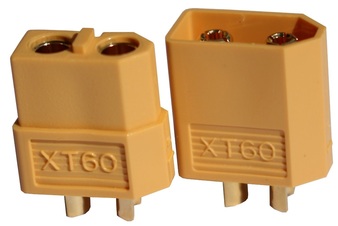
When connecting fans or lights or pretty much anything, use these quick connectors that are rated to 60 amps! I have used them for years for my rc airplanes and helicopters, but they are insanely useful for living in a rv.
Click Here
Click Here
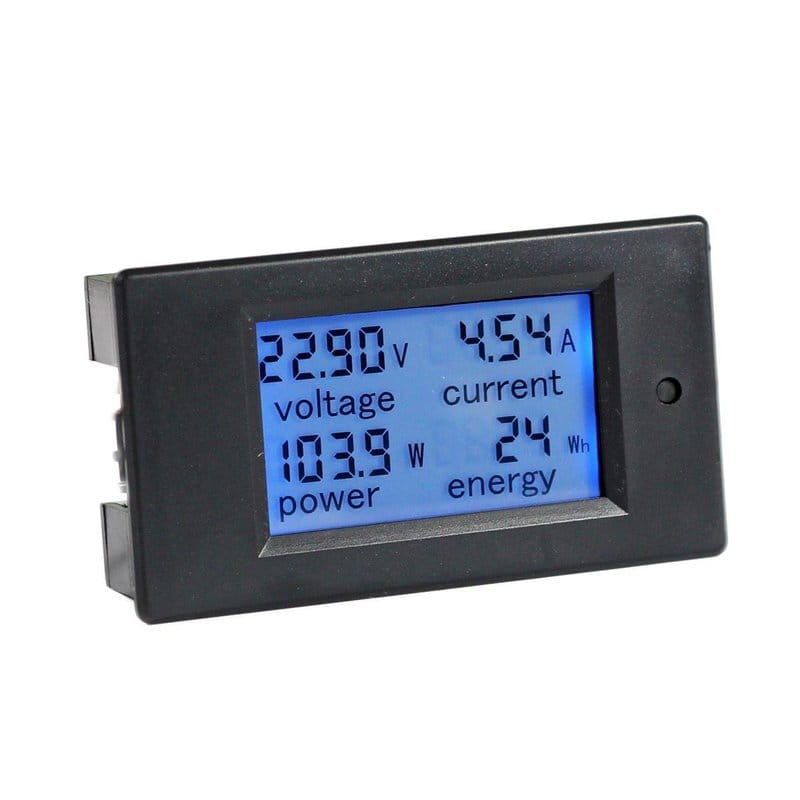
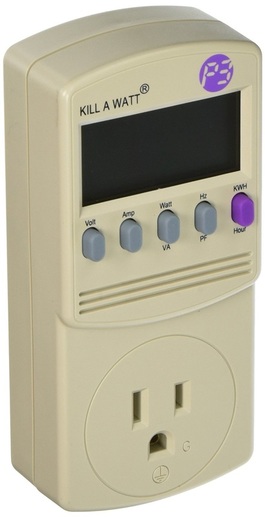
High Accuracy Voltage Monitor
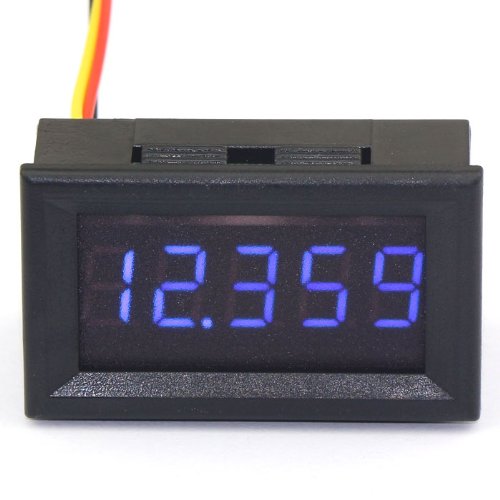
To figure out how much power you have, how much you are using, current solar output and more, use this high accuracy voltage monitor to give you a good estimate of current power usage.
Click Here
Click Here
Professional Grade State of Battery Monitor
|
This will mount close to your battery and will measure how much current goes in and out of your battery, and will tell you the state of charge regardless of the voltage. This system costs a good deal more than the monitor above because it gives you 100% accurate readings at anytime throughout the day. During the day, you will have what is called a "Surface charge" that will obscure your voltage readings (which will make it seem as if your batteries are full). If you use the a basic voltage monitor, (like the one above), the best time to see the state of charge of your batteries is in the morning before the sun rises.
Click Here |
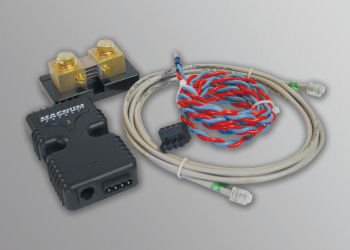
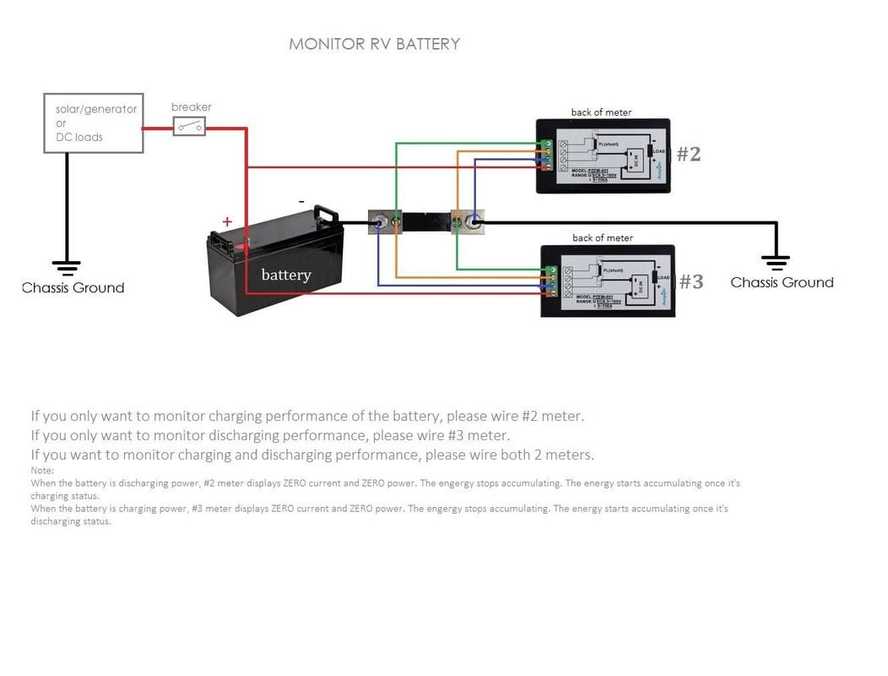
A shunt and voltage monitor (my current favorite!)
|
This cheap and awesome device will tell you how much electricity is going into your battery. This is a great way to estimate how much power is available to you.
This is all I use now to see the voltage of my system! It works so well! Click Here |

